Well, what a productive few weeks we have had here on the farm! We have had many projects going on all at once and finally completed many of them this weekend.
While out watching the cows the other night I saw Legacy starting to show his assertiveness with the other calves. As he starts to do this he will get stronger and start growing again. He is still quite a bit smaller than the other calves born last year but I am still hopeful he will be big and strong by the end of this year! If you look in the background you can see Thunder scratching on a stump in the bottom. He is huge! He probably has enough muscle in his neck to make another Legacy!
 |
| Legacy butting heads with another calf. |
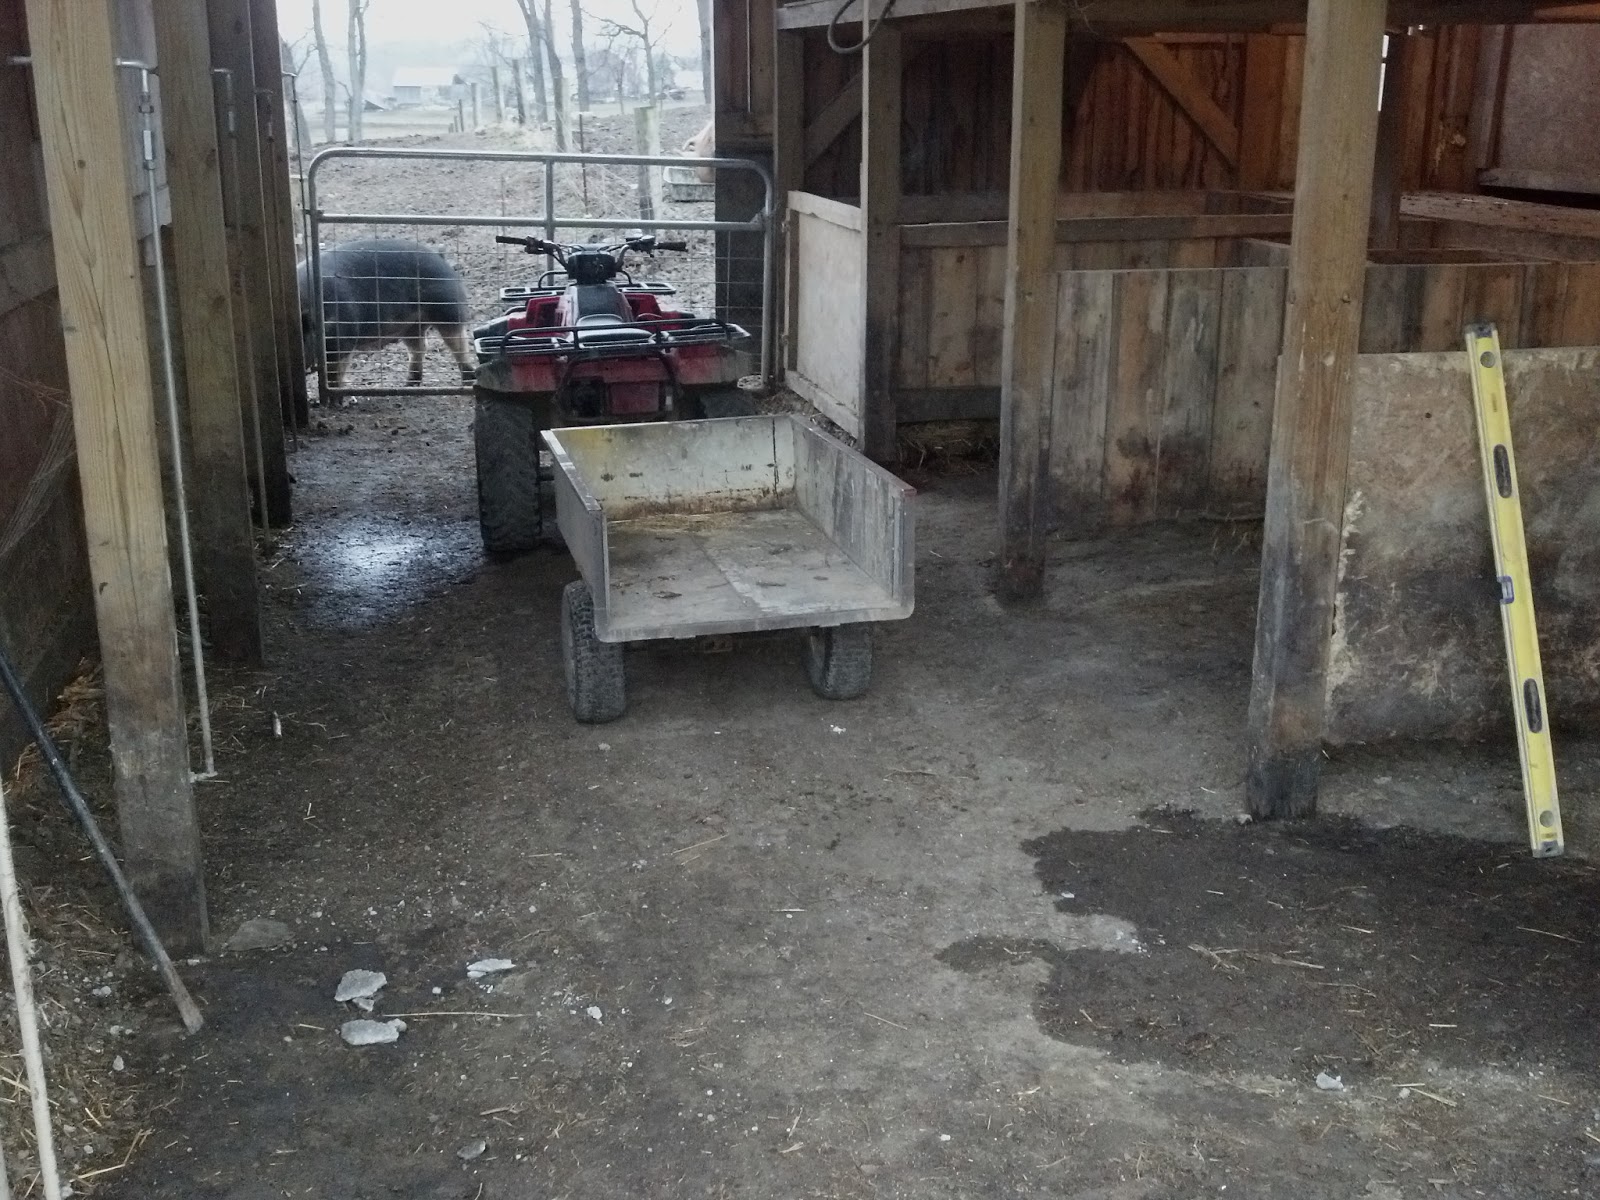
To be able to do all the repairs and concrete in the pig shed that needed done I had to kick all the pigs out into the big pasture with the cows. They immediately claimed the one entire end of the shed for themselves and will not let the cows dirty up that end. I cleaned the pig barn and the cow shed and put a couple of stubble bales in and Thunder and the pigs spread it all out for me. I didn't have to even touch it with a fork!
 |
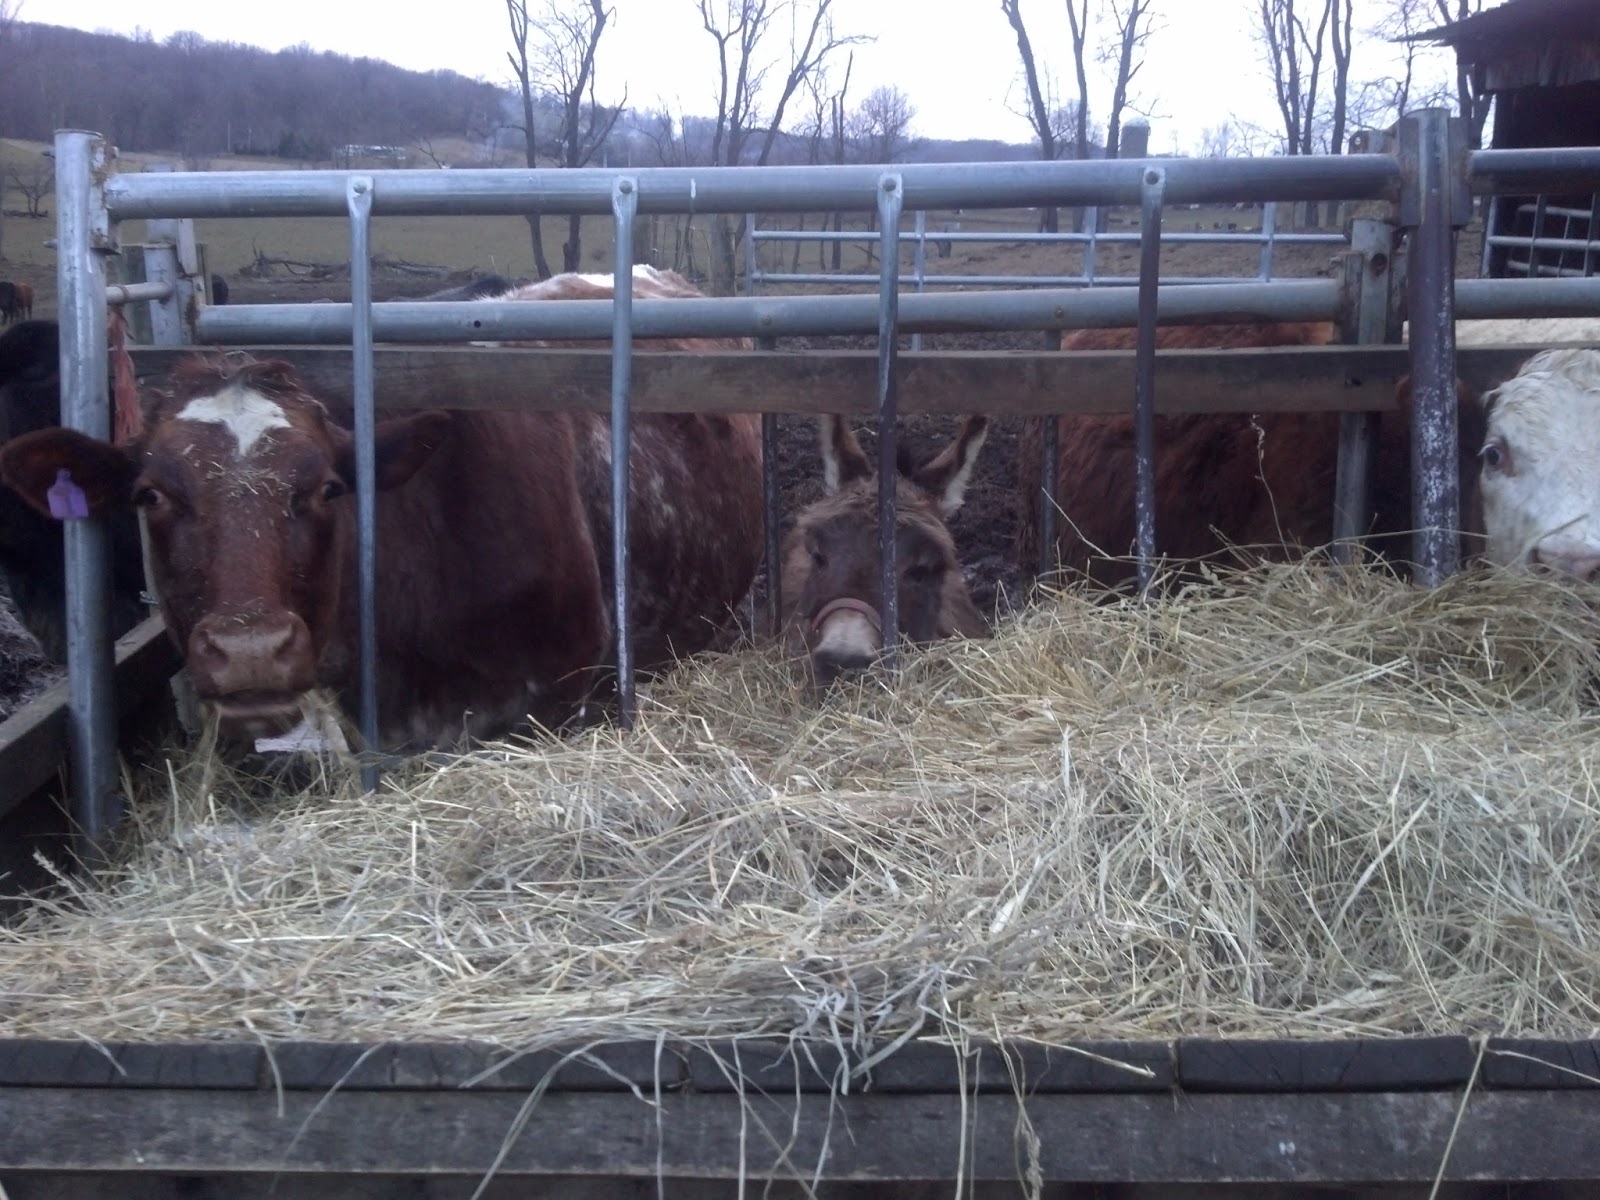
| Fifty our oldest cow watching the pigs eat. |
Above you will see fifty watching Daisy pig eating her supper. It has been great to get them out on the pasture again. Even though there isn't a lot of green grass they are still eating a lot off of the pasture in the way of roots, bugs, and other little treats they find. I still however need to give them some supplemental feed to get their weight up because they are breeding now and I need some really great litters to make up for the miserable numbers I got this winter.
I wasn't thinking ahead and the first day I put the tubs out in the big pasture thinking the cows wouldn't bother the pigs. Boy was I wrong! Fifty came from a farm where they fed them grain and she instantly knew what was up and came to sample the buffet. She was not pleased to find out that it was by invitation only! I moved the tubs into the pig lots for the rest of the time and I let the pigs in to eat and shut the gate. When they are done they open the gate themselves by pushing it open and go back out with the cows.
I was finally able to get a good picture of Red Balls with a size reference. Steven was standing behind him and he is about 5'9" and weighs about 180lbs. He looks tiny next to Red Balls! We are guessing him to weigh around 800-850lbs. I try to keep him on a diet so he doesn't get too big but he still finds extras anyway.
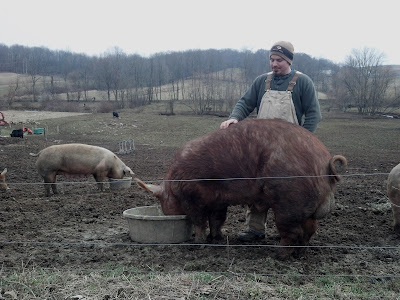 |
| Red Balls, our Tamworth boar |
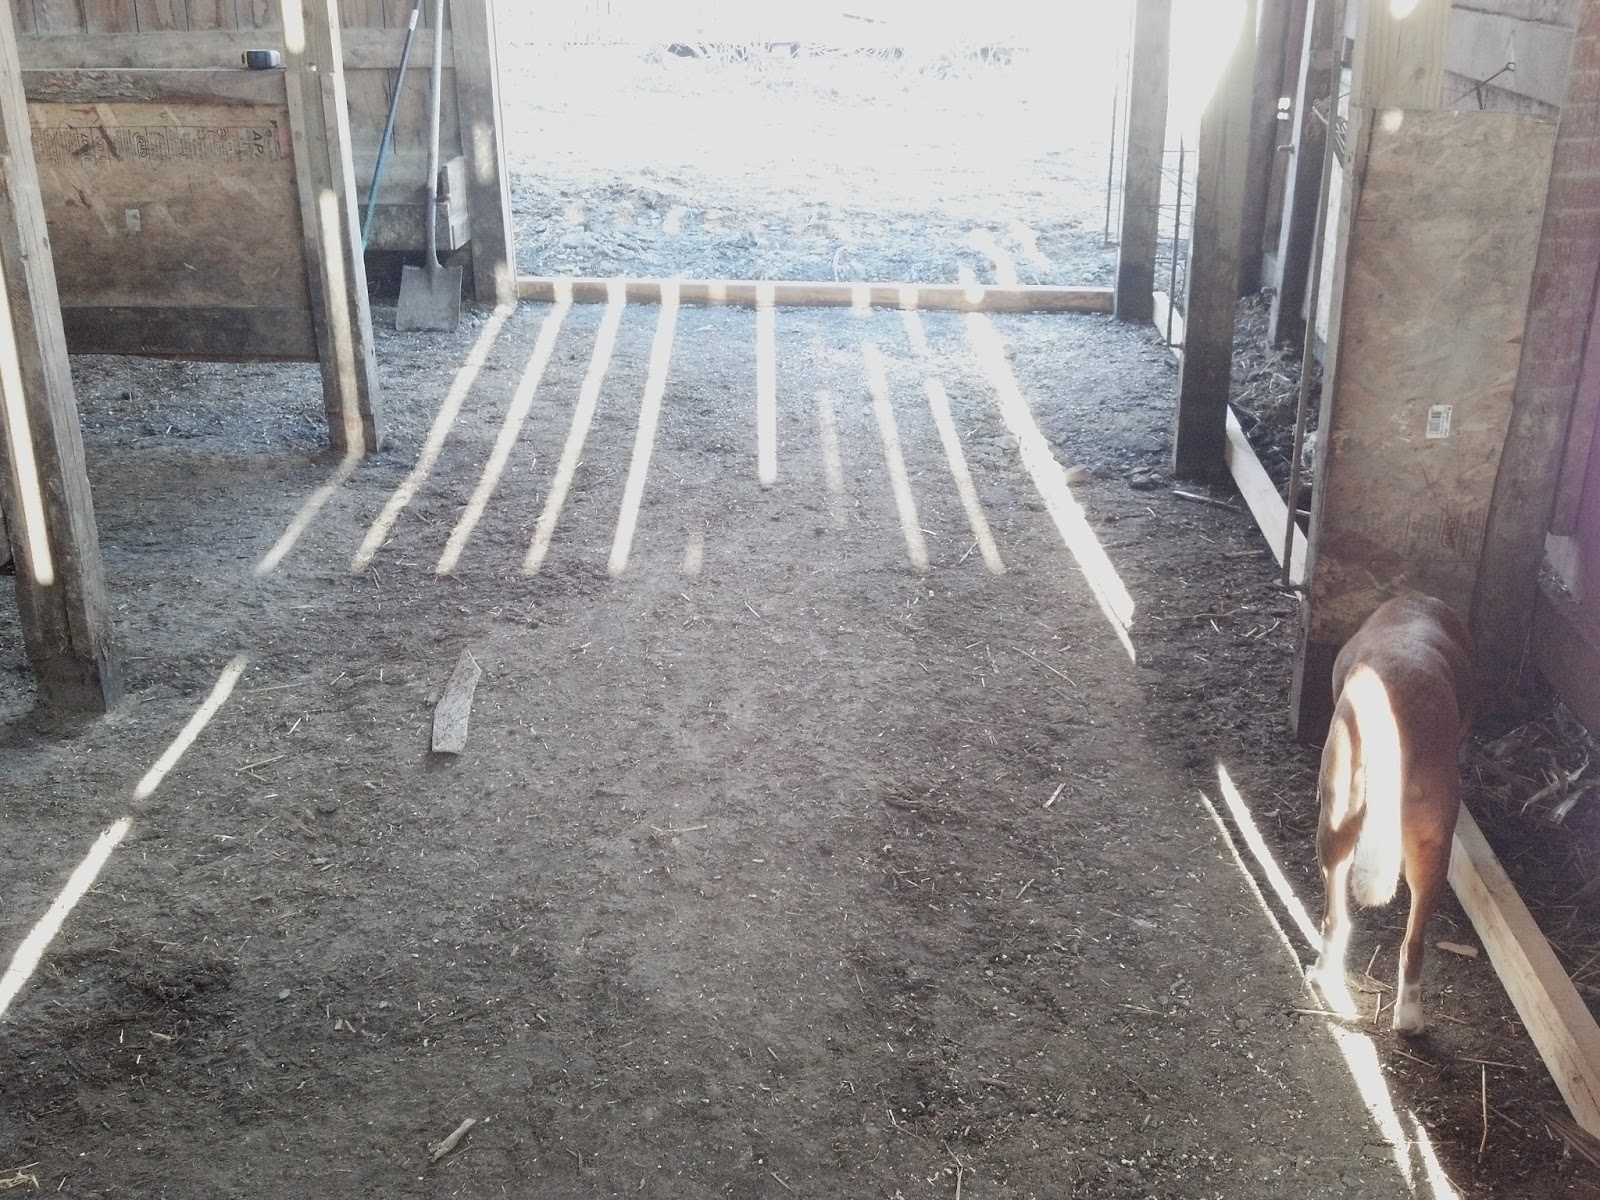
Ok, so on to some pictures of the big projects in the barn! I originally wanted to have the gravel based pens for the pigs thinking I wouldn't need to concrete them to save money. While this worked originally it is starting to show it weaknesses. Now matter how hard I tried I couldn't get it perfectly level and over the last two years the softer/thicker spots settled and compacted more than others and is now quite uneven. So, when trying to clean I end up greaking the hard crust and get gravel in the manure and it creates a soft spot the pigs can dig into. Also, as you can see in the first picture below it is the lowest spot so any water that gets close to the outside of the barn finds its way into the pens and makes for a horribly messy barn during wet weather.
 |
| Picture showing water in pens after cleaning. |
Another picture showing the barn all cleaned up and ready to form. You can also tell how the water was directed to the center of the barn. This was not by design. I originally had it all graded to drain but as small amounts of gravel leave every time I clean the barn it has left a hole that collects water.
 |
| Cleaned barn before forming for concrete |
Daisy is always helping me or at least tagging along. Here she is checking out the form boards we put up to contain the concrete.
 |
| Barn with forms installed |
Another pic from the driveway side of the barn. We formed it with slope of 2" every 8' so that any water that finds its way in the barn will immediately drain south toward the cow shed and eventually the future manure pit.
 |
| Formed up pens from driveway side of barn |
Ever since we moved in the north block wall that holds the sill plate for the main barn has been deteriorating. I thought we would eventually have to jack up the barn, remove the old wall and replace with new block. After turning the area north of the barn into pasture the pigs and rain accelerated the deterioration and if not corrected probably would have failed some time this year in a couple of places. I contacted a friend and subcontractor I use at work a lot by the name of Jim Menegay. He is one of two owners of JC Masonry and has been doing masonry work longer than a lot of people have been alive. He is a wealth of knowledge and is very good at what he does.
The wall was constructed from the old 8"x8" x 16" tile block so he suggested something much different than what I originally was considering. He suggested leaving the original wall and forming up on the inside of the barn for concrete. He then knocked holes in every block in the entire wall for concrete to enter. Then he saw cut the floor about 4"-5" out from bottom of wall and removed the concrete and dug out the dirt to expose the foundation stones and allow for concrete to get below the level of the current barn floor to lock it in once poured.
 |
| Wall prepared for concrete. |
Next we swung the forms over to the wall and anchored to the floor and braced up with kicker boards to hold the weight.
 |
| Jim Menegay of JC Masonry working on wall forms. |
 |
| Wall formed and ready for concrete. |
Here are a couple more pics of areas ready for concrete.
 |
| Reinforcement wire installed and ready for concrete with expansion joint around all posts. |
 |
| Pens ready for concrete |
 |
| Walkway ready for concrete. |
We needed an extra area ready for any leftover concrete. You always order a little extra as you never want to run short! Eventually I will have the area out side the barn to the west covered with a roof to give me an area to feed the feeder pigs outside of the pig shed where we have the birthing pens. Since the soil all got turned to mud and worked away from the waterer by the pigs I cleaned up all the mud and left this area as a space for extra concrete.
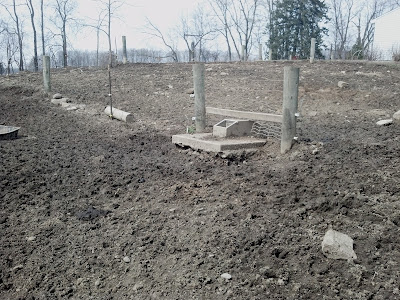 |
| Additional area outside barn for leftover concrete. |
Well, the pour went off without any problems what so ever! I even had another friend/subcontractor who specializes in concrete show up to assist to make sure everything went well. His name is Ray Pucci and is the owner operator of Accent Concrete. He does all kinds of specialty concrete and has worked on many of the big projects I have done at work.
 |
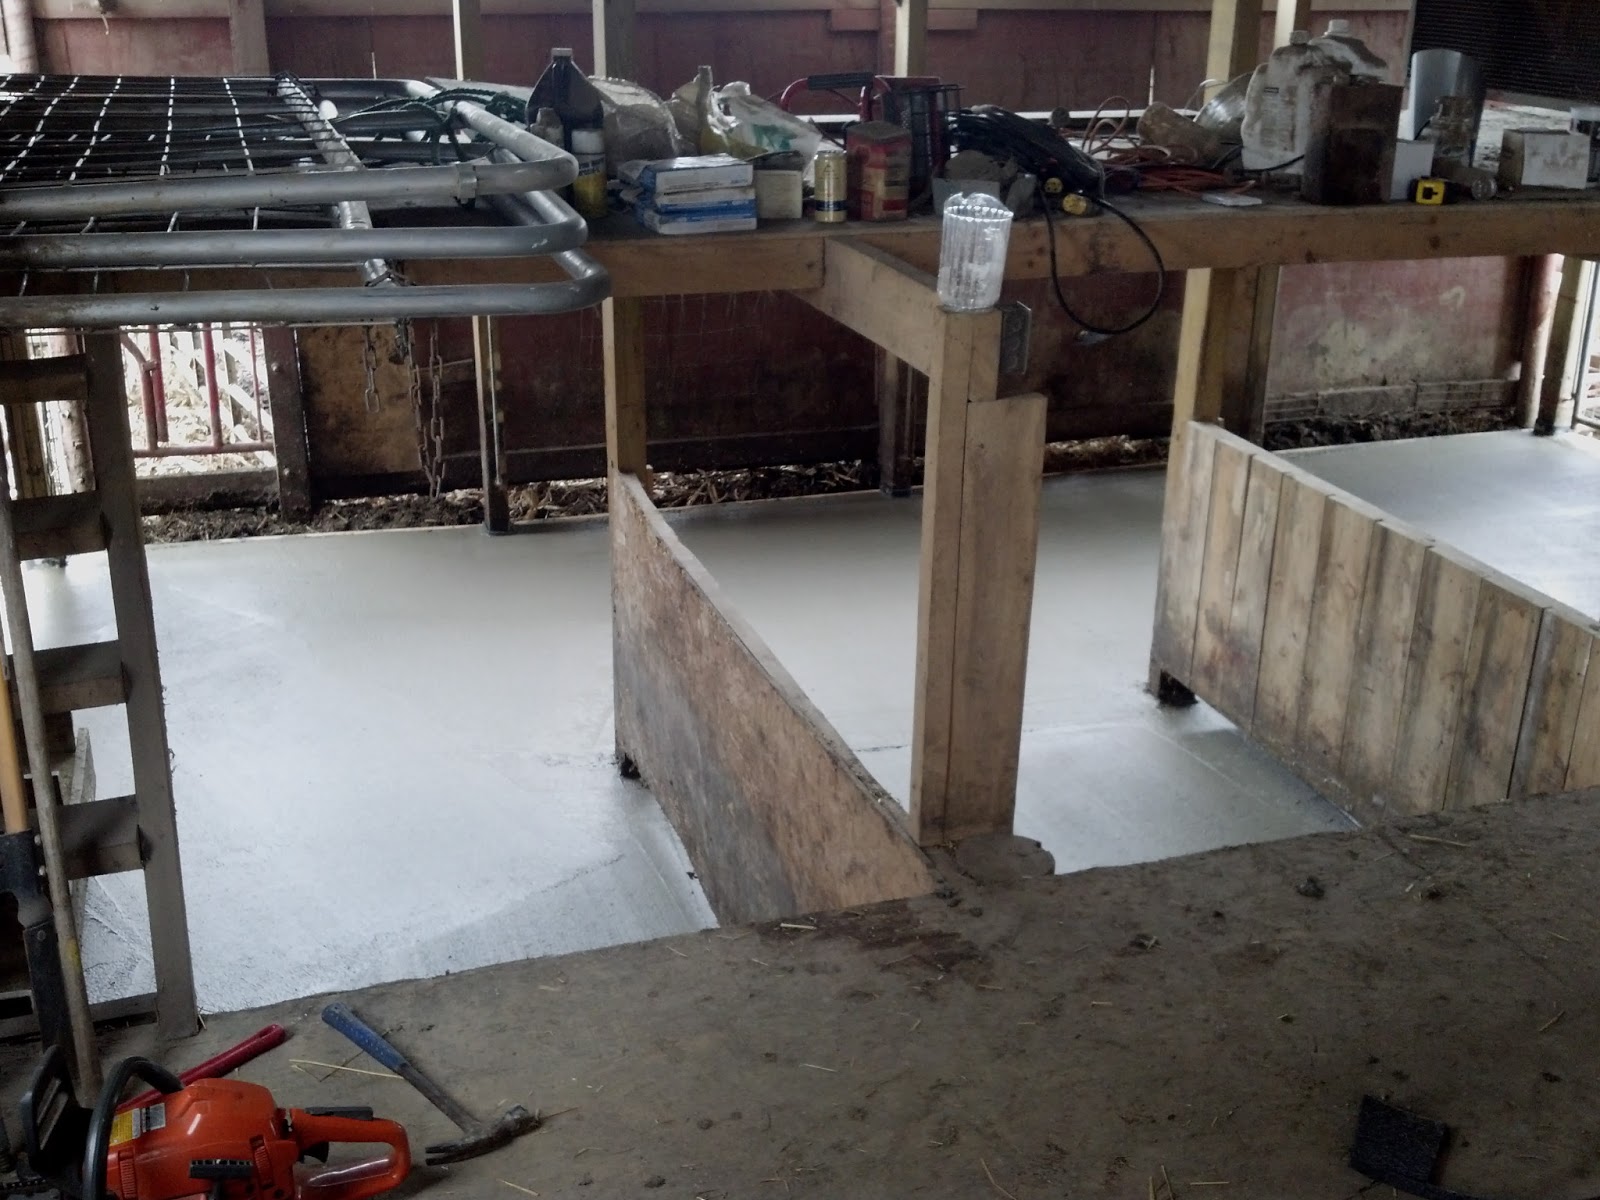
| Looking down from walkway into newly poured pens. |
I was such an awesome feeling to finally see some major steps completed moving us much closer to having the barn I need to really be productive and profitable!
 |
| Completed concrete looking from driveway side (east side) of barn |
 |
| Another shot looking down into top of hot box pen. |
 |
| Another pic with other door open for extra light. |
Now, I knew I would have around a yard of concrete left over so I had a spot already prepared. However, I was not prepared for the 2.5 actual yards we had left over. It is a good thing that I spent an extra hour when cleaning the barn and pulled all the mud out of this area. I knew what I wanted but did not get any forms put up. It still turned out just fine and I will just have to saw cut the edges when doing the future pours on the borders. At least now I will have a walkway to the waterer that is not deep mud and it will stop the water from getting into barn from the pasture side. This will eventually tie into more concrete going to the left of the pic and the right as well that will all slope away from the barn to take all water to the pasture instead of the pens.
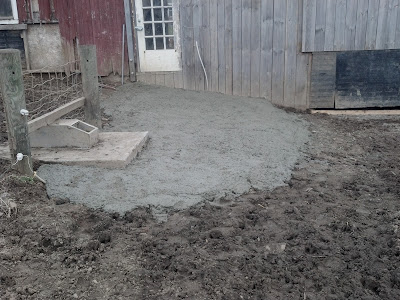 |
| Pig waterer with course surface concrete. |
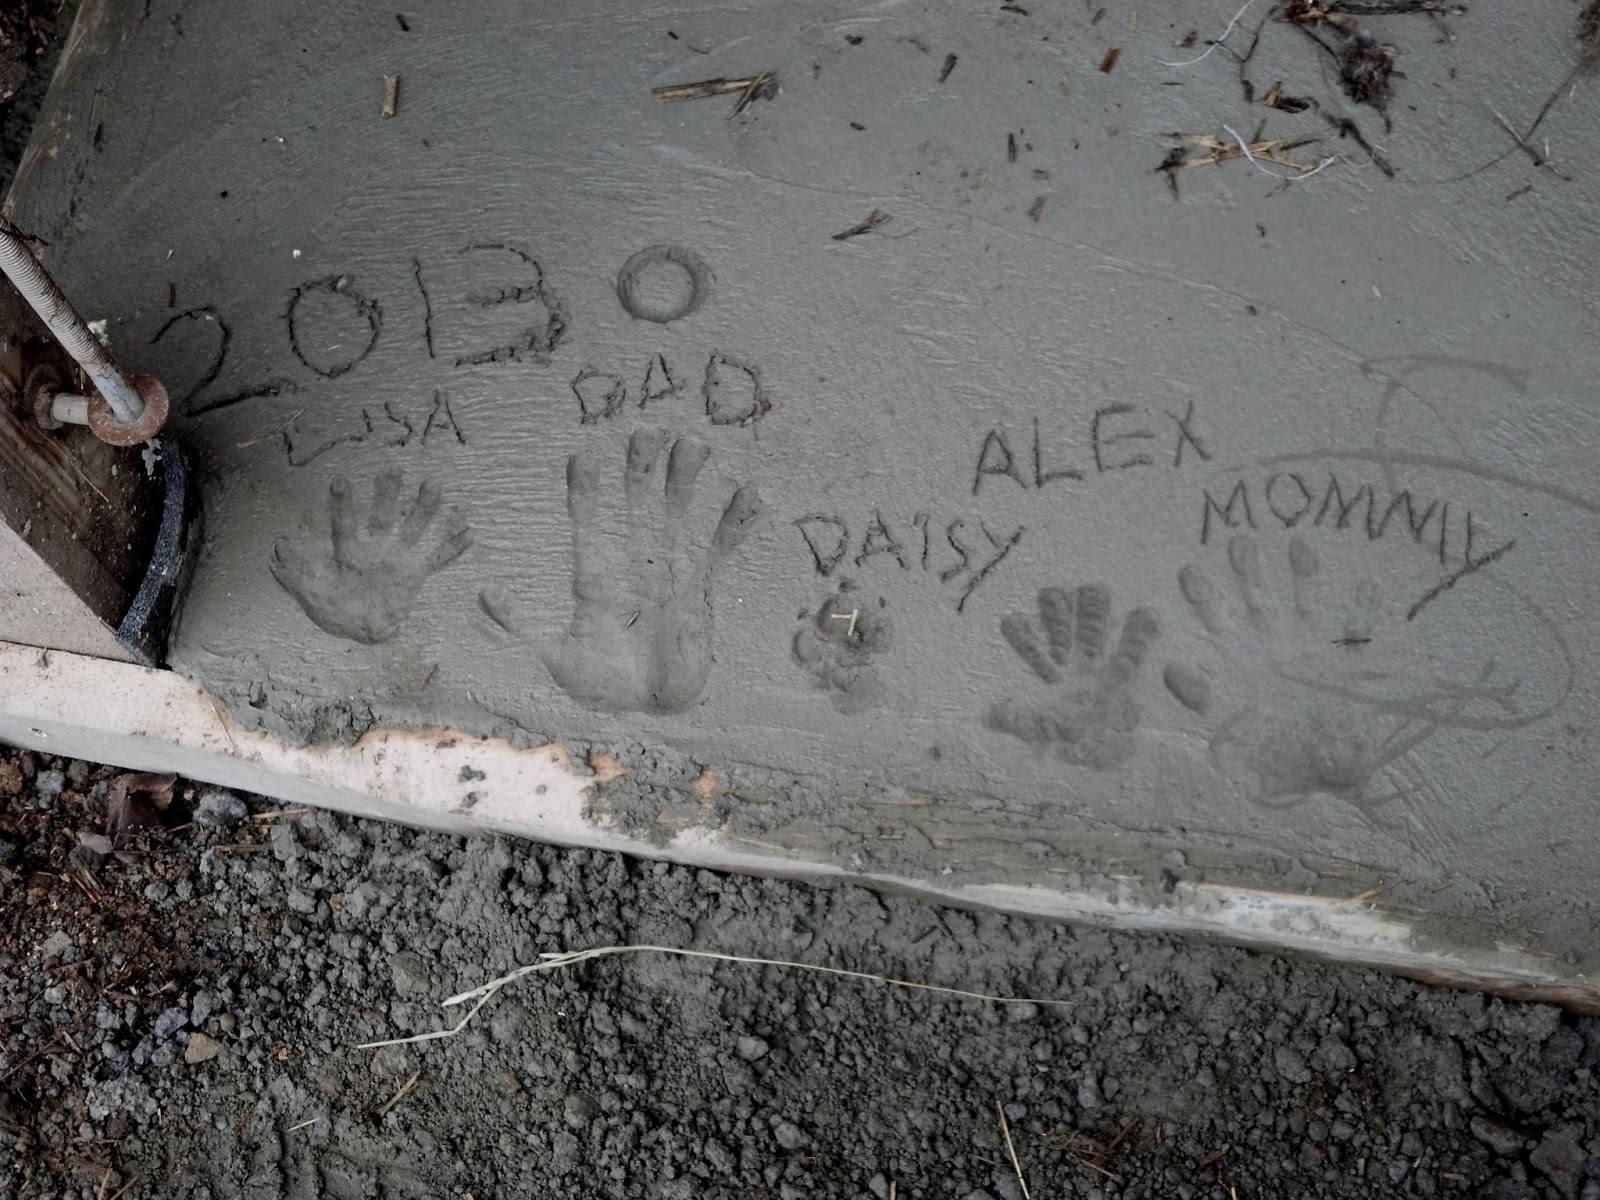
I wanted a way to mark this for anyone in the future who wonders who did this. So, before the concrete completely set we all put our right hand prints in the concrete with the year. If you look closely you will even see that the supervisor (Daisy) put her stamp on it right in the middle!
 |
| Hand prints including our dog Daisy! |
Here is a shot of the finished barn wall. It looks awesome. Now all I have left to do is clean up the mess after the concrete finishes hardening so I don't mess it up.
 |
| Completed barn wall repair. |
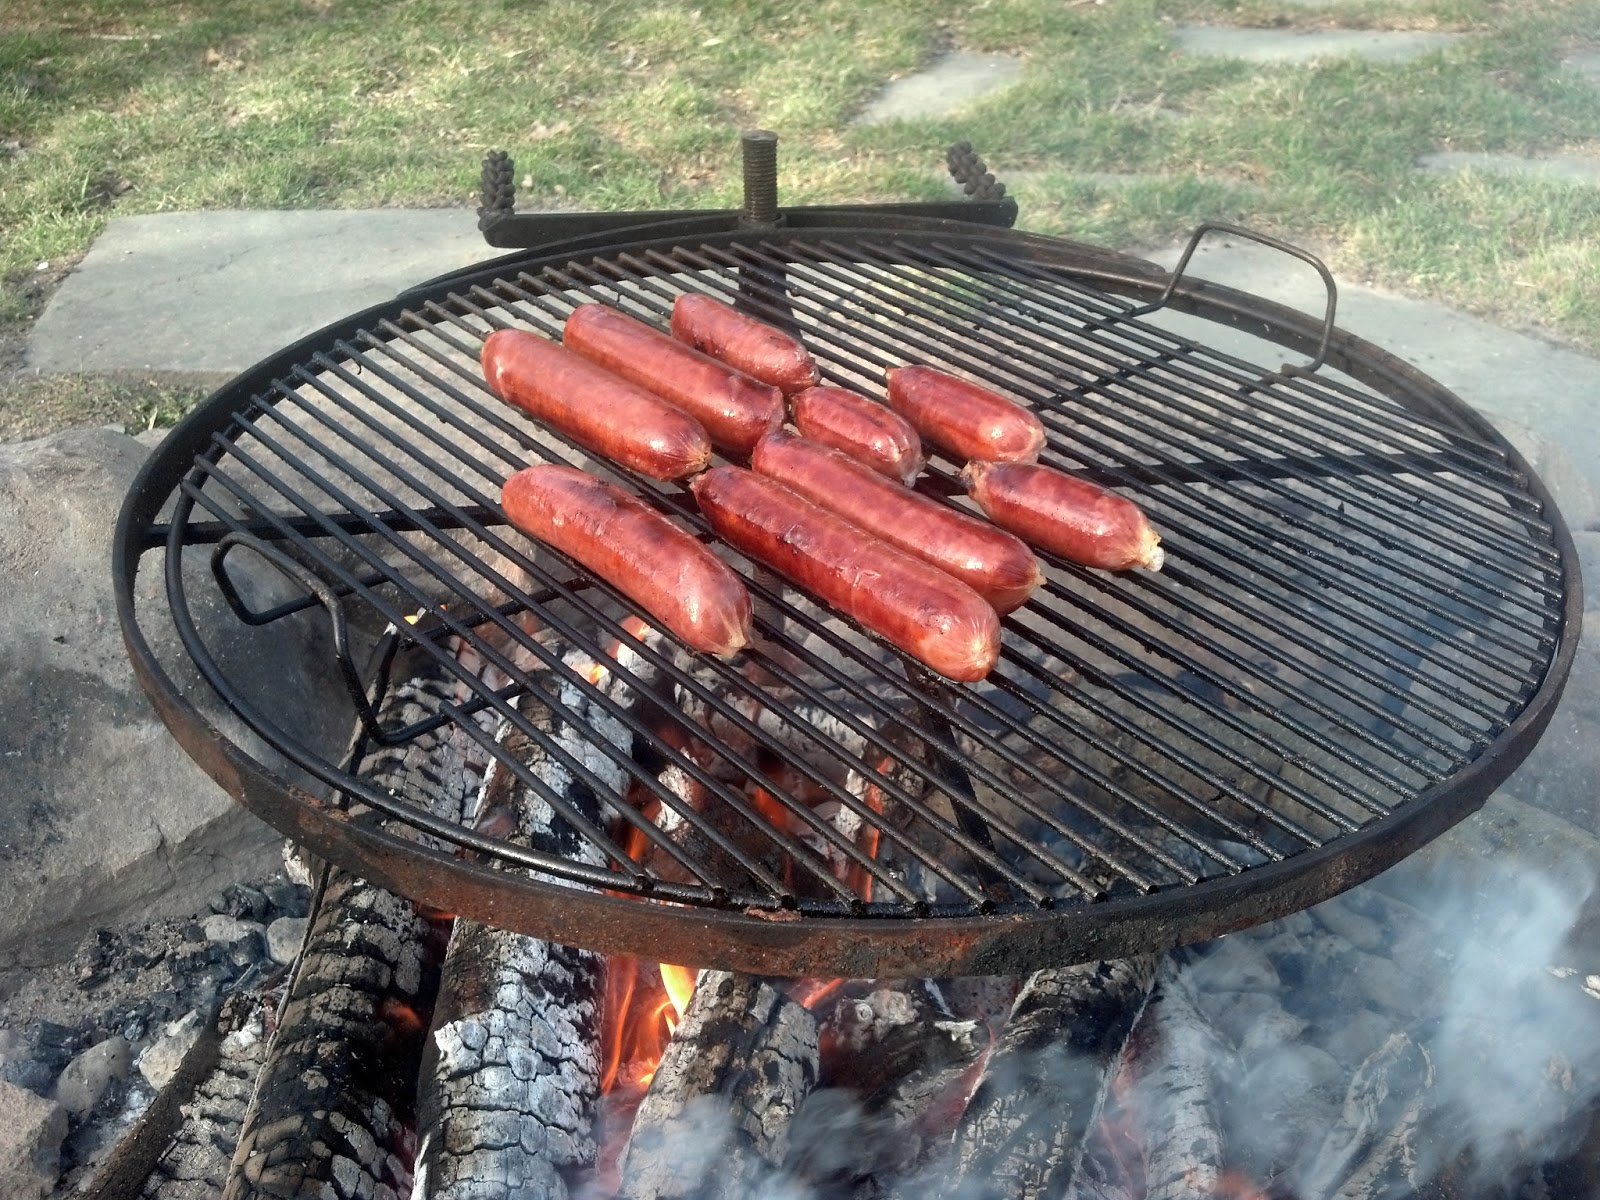
Since I had quite a few people over I had a fire going and cooked hot dogs on it. We also had our tasty beverages as well!
 |
| Food break! |
Today I went out and spread a bale of corn stubble in the barn to help hold the heat in the concrete so it can cure as best as possible. Since I am still waiting on my brother to take his fair pigs home they are still in the barn. Since they are not large enough to hurt anyting I turned them loose to play in the bedding and get some exercise after being penned up for so long while I got ready for the concrete. Naturally Daisy got in to supervise the play and make sure no one got out of control! It was so cute to watch her chase one down every time one of them would run too fast for her.
 |
| Daisy watching pigs playing |
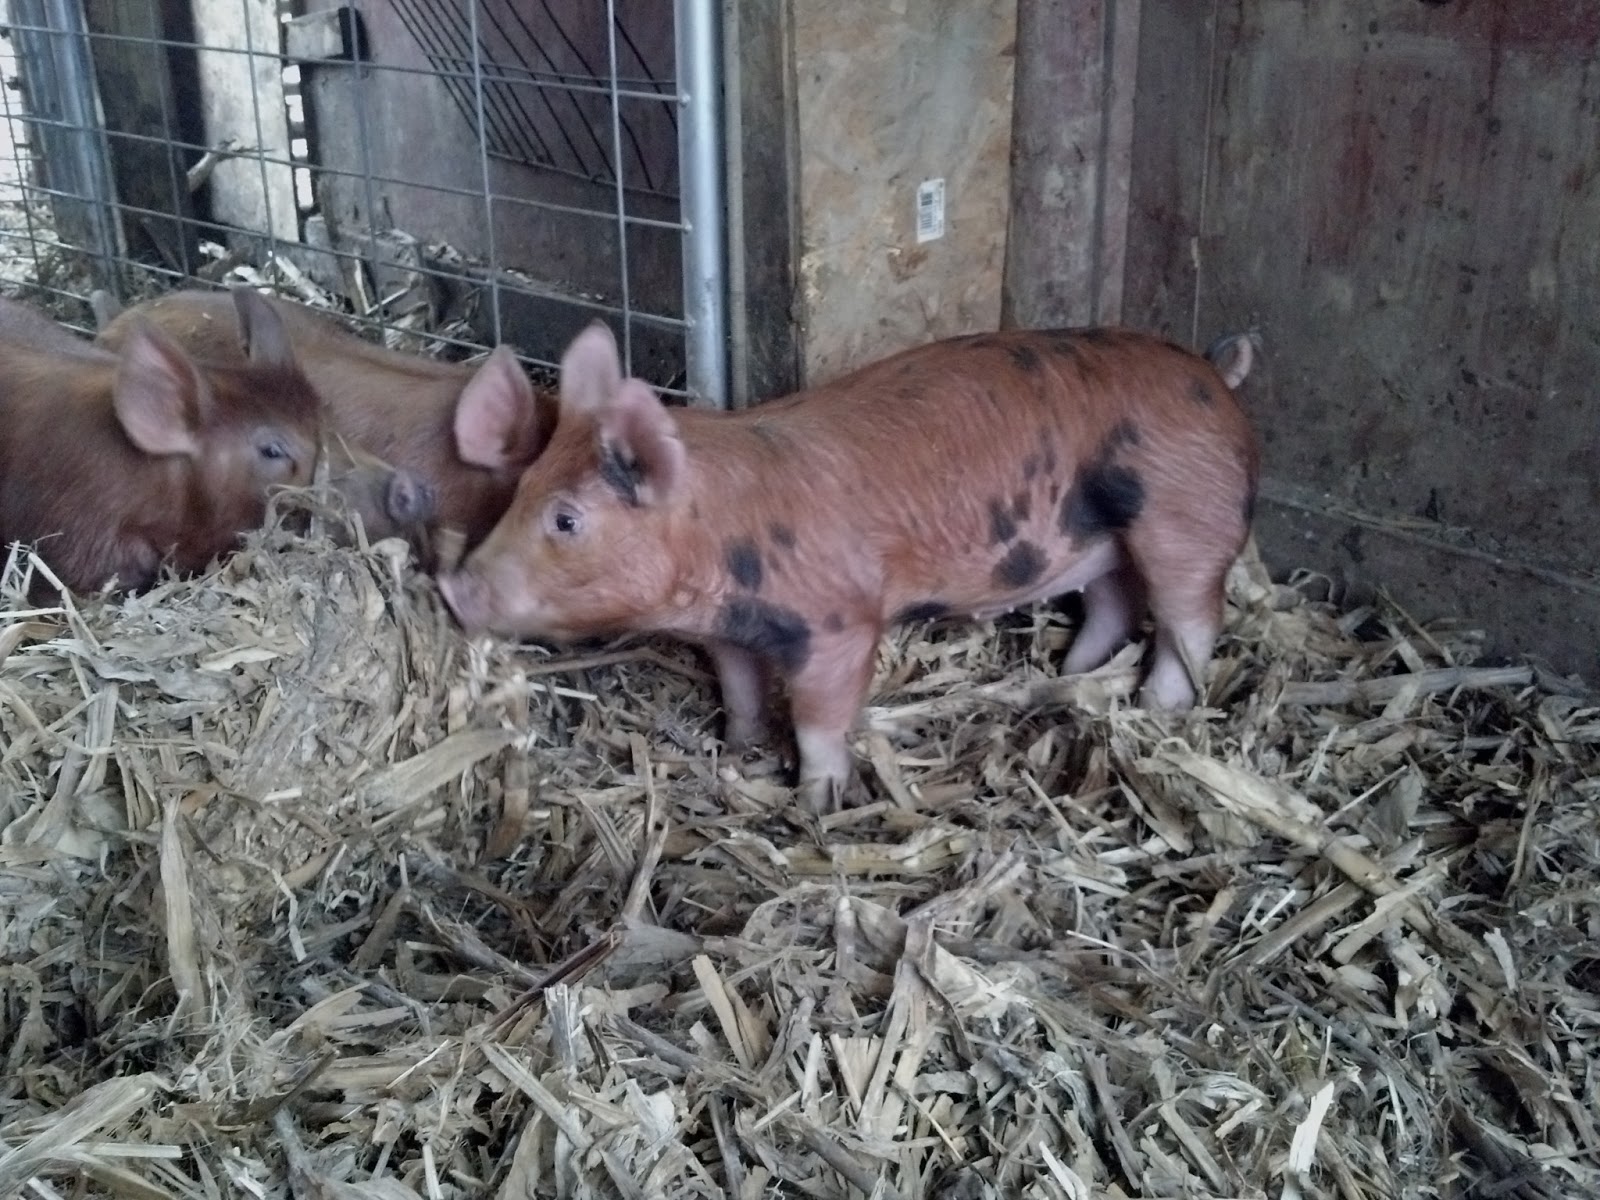
This is a picture of the piglet that my wife had to help deliver. It was so big when it was born that the mother had a hard time having him. He is doing great now and it actually looking quite good!
 |
| Tamworth x Berkshire cross piglet, 2.5 months old 52 lbs. |
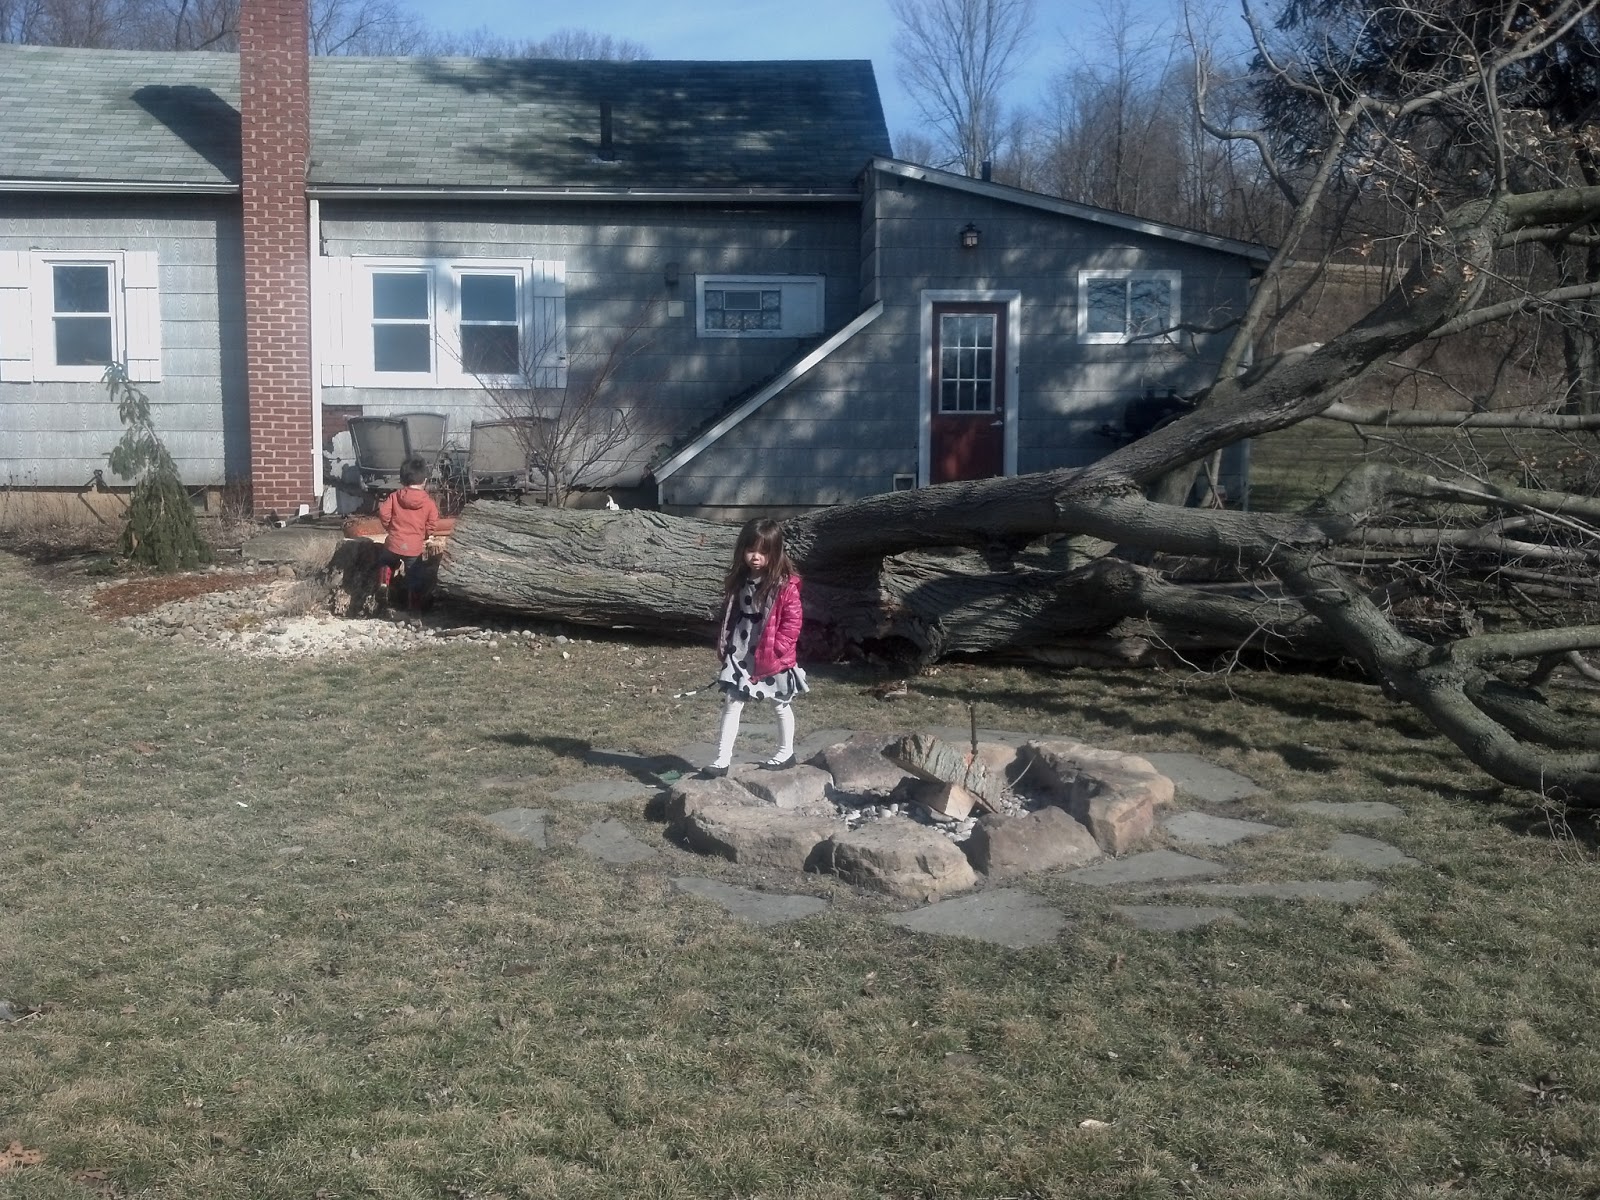
Another project that needed done before spring officially gets here was removing the large sugar maple from the back porch. It was apparently struck by lightning or disease some time many many years ago and was almost completely rotten in over the majority of the trunk. We were worried it would be knocked onto the house by a storm so my and my buddy Willie took it down last week. This kids had a blast playing on it before I got it all cut up.
 |
| Kids playing during removal of the sugar maple |
To give you an idea of how rotten it was here is a pic. Shortly after felling it lit a small piece of the rotten wood with the torch after only hitting it with the flame for a few seconds. It lit like paper and proceeded to burn all weekend. The black spot on top were where the fire was following the insect paths through the rotten wood and coming out the top of the stump.
 |
| Rotten stump from old sugar maple |
So, after it was done burning my brother suggested that I should make a bench out of it. After all the dead wood burnt out I was left with just the remnants of the live roots. You can actually see the individual roots. So, I am planning on leveling the top and attaching one of my curvy cherry slabs to the top for a seat.
 |
| Future wooden bench made from rotted tree stump. |
Looking at it from the patio. If you look in the back ground you can see the future back board for the bench. It is a piece of really curvy elm that came out of one of my many fence rows I have cleaned up. The seat will be from the cherry that used to stand in the yard about 70' from the house.
 |
| Future wooden bench built on old rotten tree stump. |
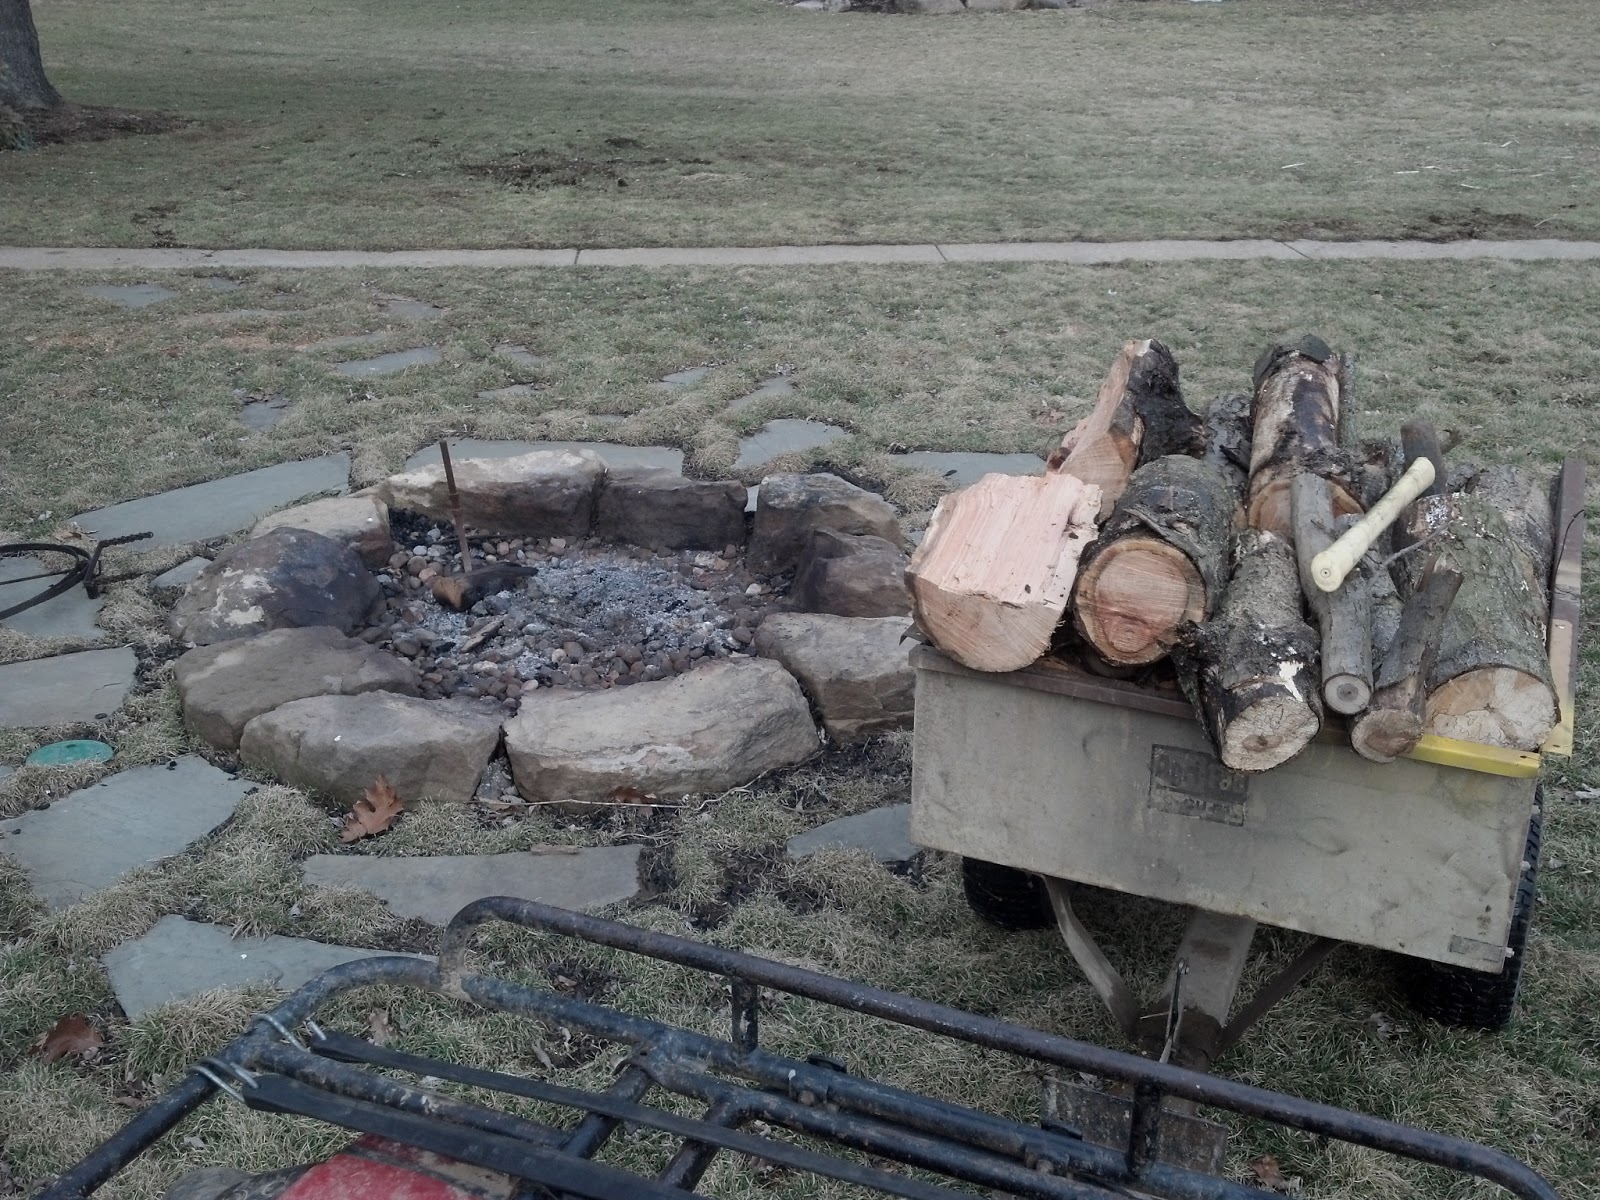
Next I would like to give you my easy three step process to an awesome fire to enjoy in your back yard.
Step one: Collect a trailer load of well seasoned hard wood from one of the many piles on the farm and park next to fire pit.
 |
| Step one to an awesome fire! |
Step two: Pile the entire content of the trailer in the fire pit.
 |
| Step two to an awesome fire! |
Step three: Light the natural gas log starter in the pit and relax. After 10 minutes you can turn the gas off and it will burn perfectly!
 |
| Step three to an awesome fire! |
Here is the fire about two minutes after lighting. This is best watched while drinking a tasty beverage of your choice. Mine this day happened to be a Dos Equis. I also like Sam Adams and Blue Moon Honey Moon!!!
 |
| Fire two minutes after lighting. |
I turned the gas off after I took the next pic. I can start a fire with this burner even in the rain if I want. I do not do that unless we have no power. I have used it after a rainstorm to have a fire to enjoy on a summer night though even with wet wood.
 |
| Fire ten minutes after lighting. |
This one was about 15-20 after lighting the fire. With the extremely dry wood that I had it took about 40 minute to have the perfect fire for cooking dinner on. I needed a really hot fire with lots of coals and some nice cherry smoke.
 |
| 5-10 minutes after shutting gas off |
I am not really in a financial position here on the farm to be able to pay my help with cash yet. But no one who comes over to help leaves hungry as I pay in food and, to those old enough, beer if they want! This days dinner was four t-bones, a 1.5lb sirloin, and a .75 lb filet. I cooked them on the wood fire and the result was amazing. All the meat was from our own steers and when you cook grass fed beef on the open wood fire it is heavenly! There was roughly about 6.5 lbs of meat that I cooked for dinner. Willie is single and enjoys when eating here as my wife is a phenomenal cook. This night she made all the sides and I cooked the meat which wood fire cooking is something I enjoy. Between Willie, the kids, my wife, and I we managed to eat all but one steak that I took in my lunch the following Monday!
 |
| Grass fed T-bone, sirloin, and filet steaks! |
To conclude I wanted to attach a photo taken from in the house last evening. I always know warm weather is near when I am hit with wonderful sunlight sitting at my desk in the house. For it to shine in this window it needs to be getting farther north on its way to long warm summer days. Between this and last weekends wonderful 75 degree temps I am so ready for summer!
 |
| Sunset from in the house. | | | | |
I wish everyone a good evening and bring on spring. Our customer party will be held on Memorial day weekend again on Sunday May 26th. I cannot wait as it will be a great time! Looking forward to seeing anyone who can make it.
Goodnight everyone!
Kenny